Meeting with the client in Sheerness, Kent.
The first visit to this property was to meet the client; view the work to be undertaken as part of their project; take general notes and provide advice on the best way forward to meet their expectations on the end result.
A fully detailed quotation was prepared and emailed to the client and I advised I was more than happy to answer any questions relating to the quotation or the project.
Once the quotation had been accepted, I returned to the clients’ house to discuss the colour theme for their lounge and dining areas. We discussed at length the colours the clients were considering and viewed a selection of colour fan decks. We compiled a list of tester colours, I ordered these and once they arrived I applied them onto brush out boards and delivered the boards to the clients a few days later. I always leave the brush out boards with clients as this allows them to consider the proposed paint colours with their flooring or carpet samples and any soft furnishings or accessories.
Starting the job
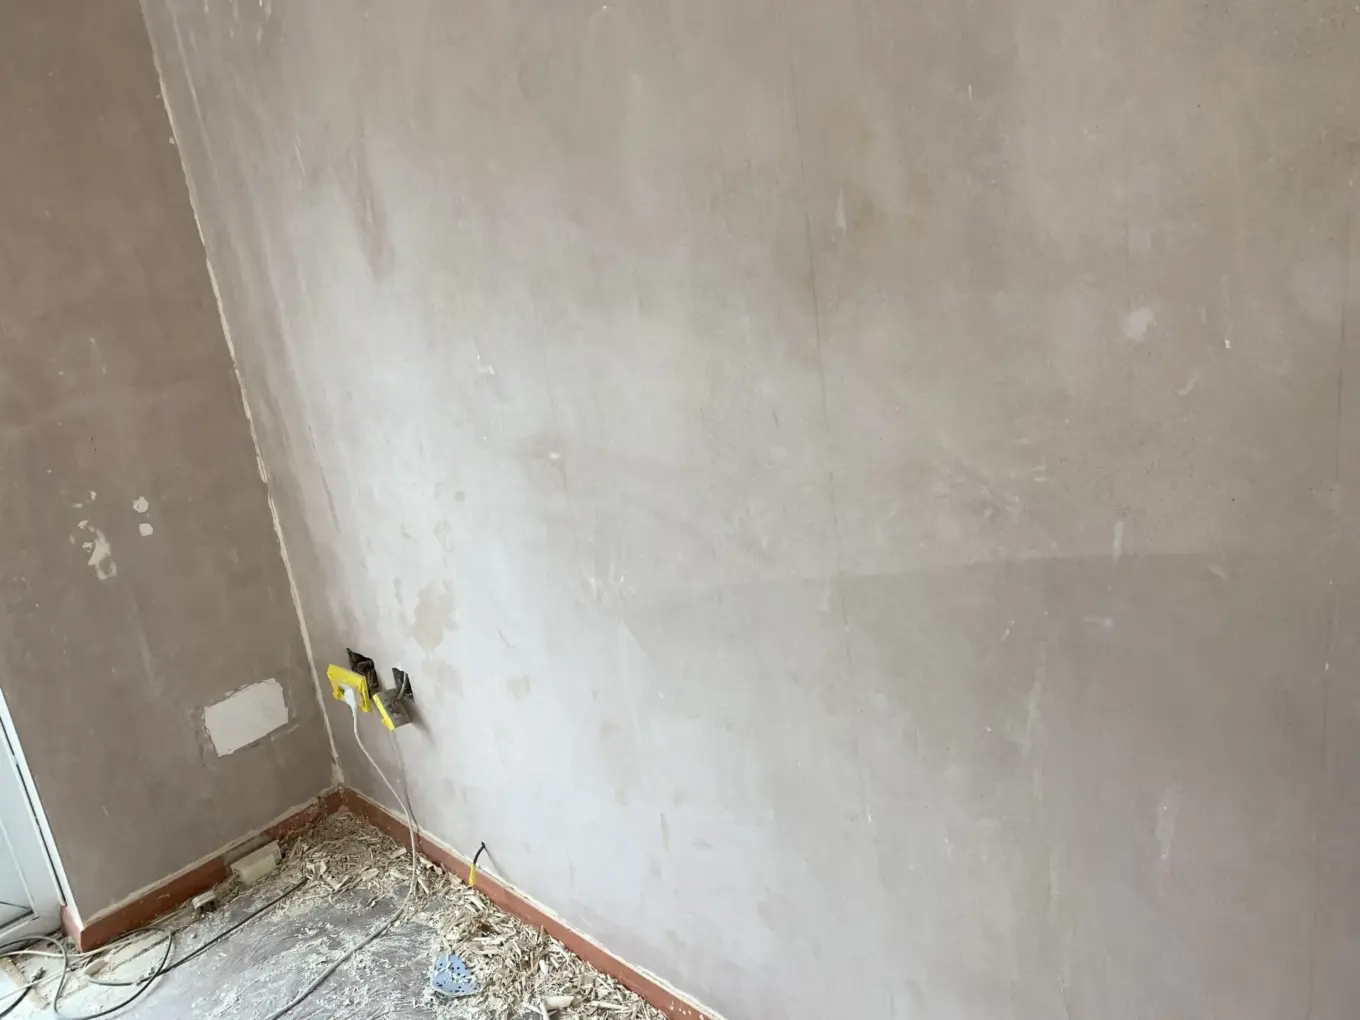
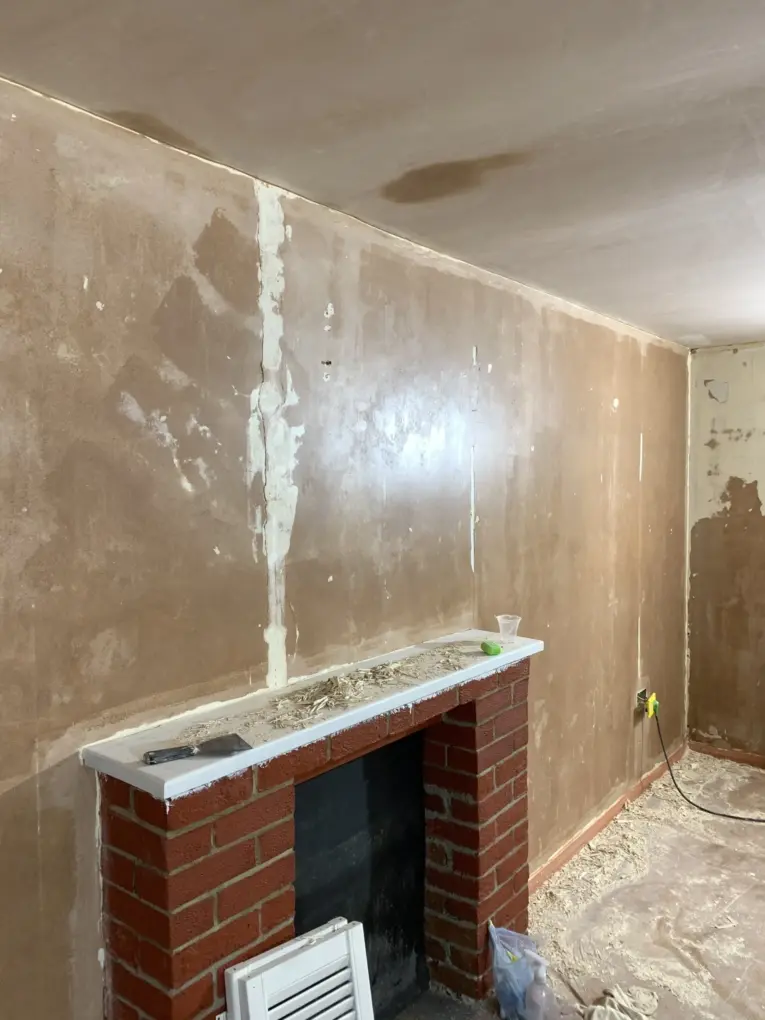
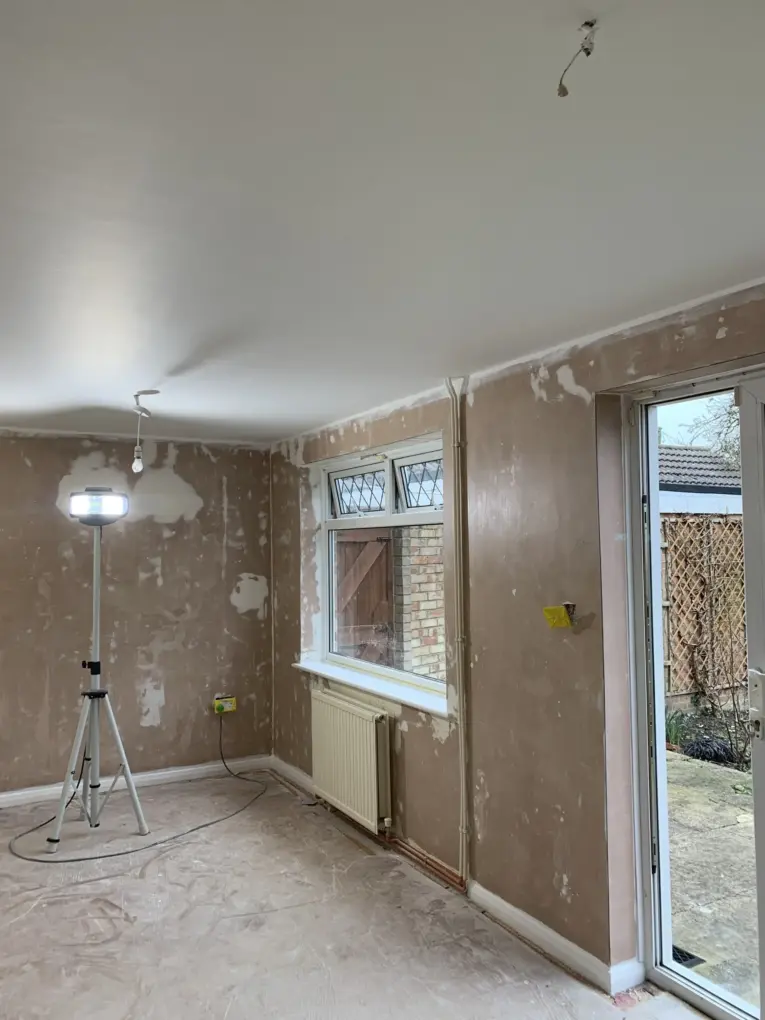
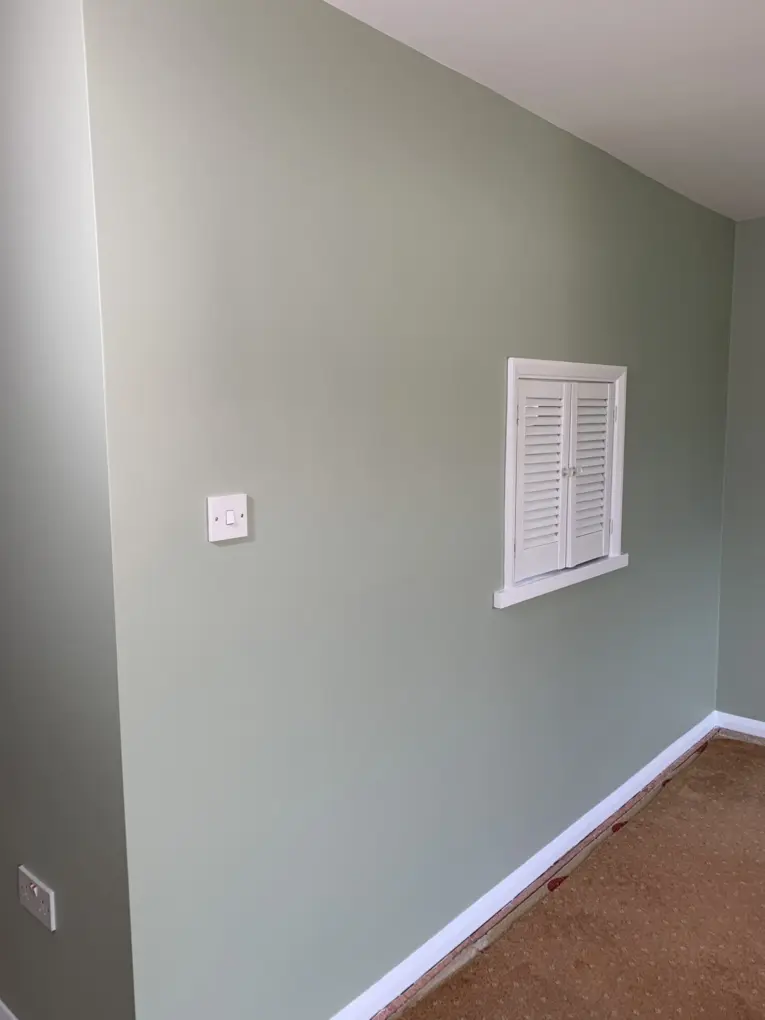
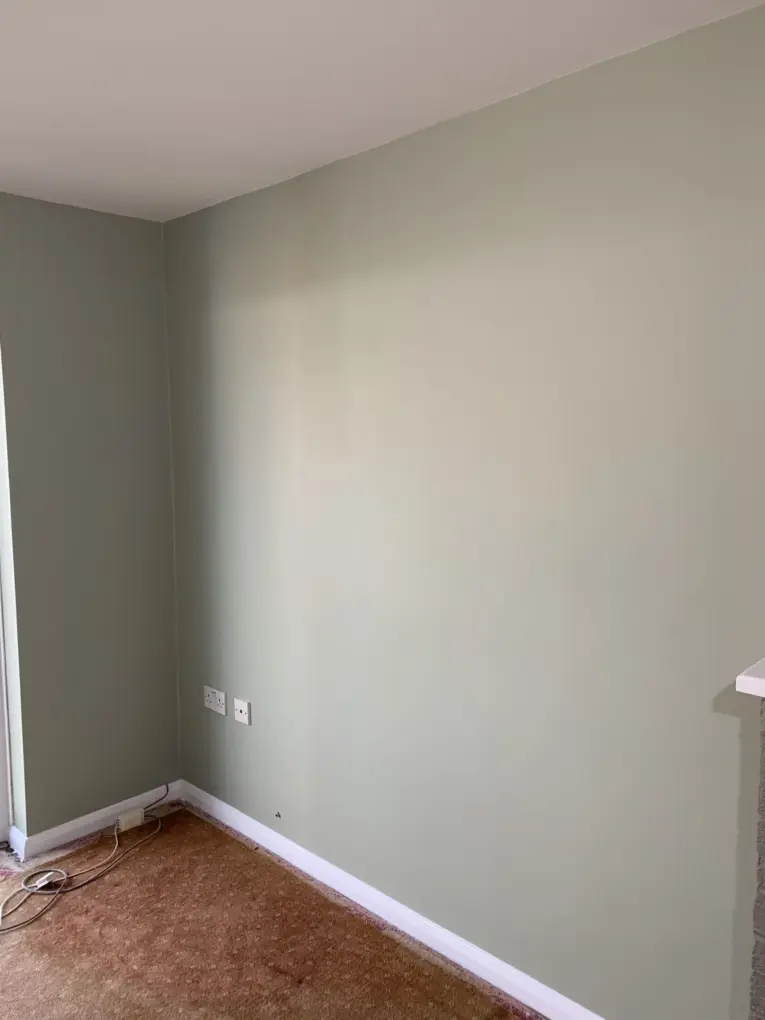
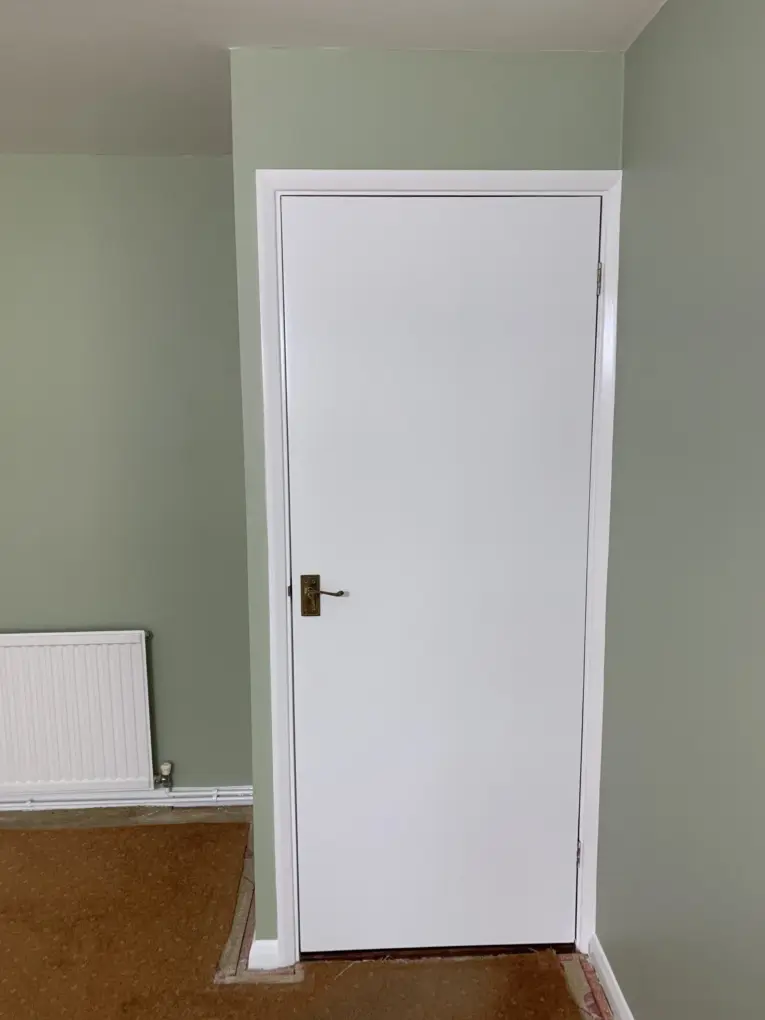
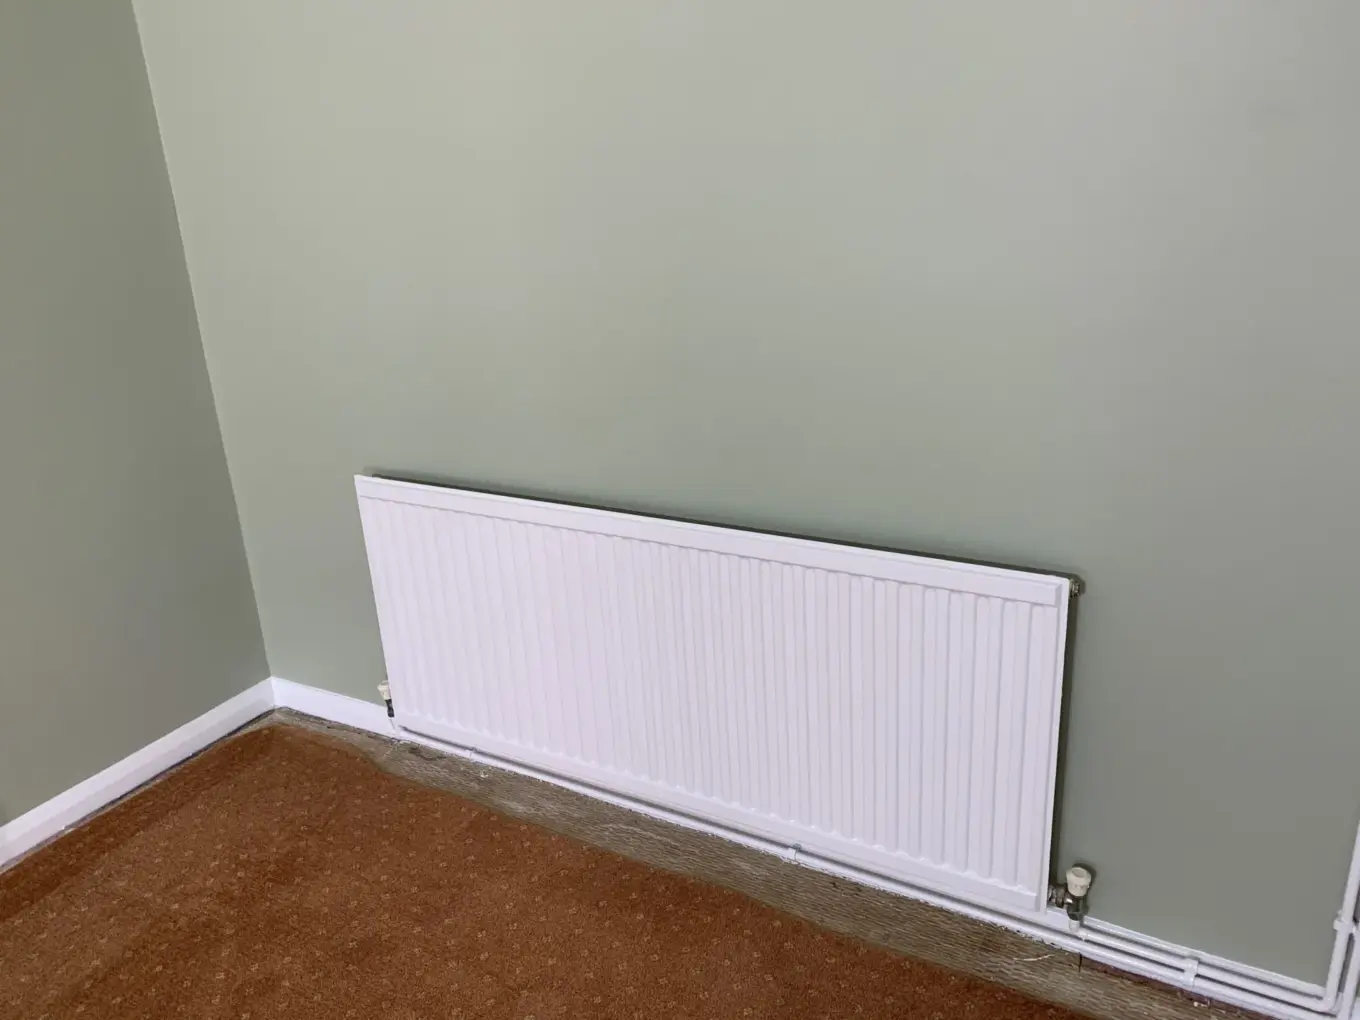
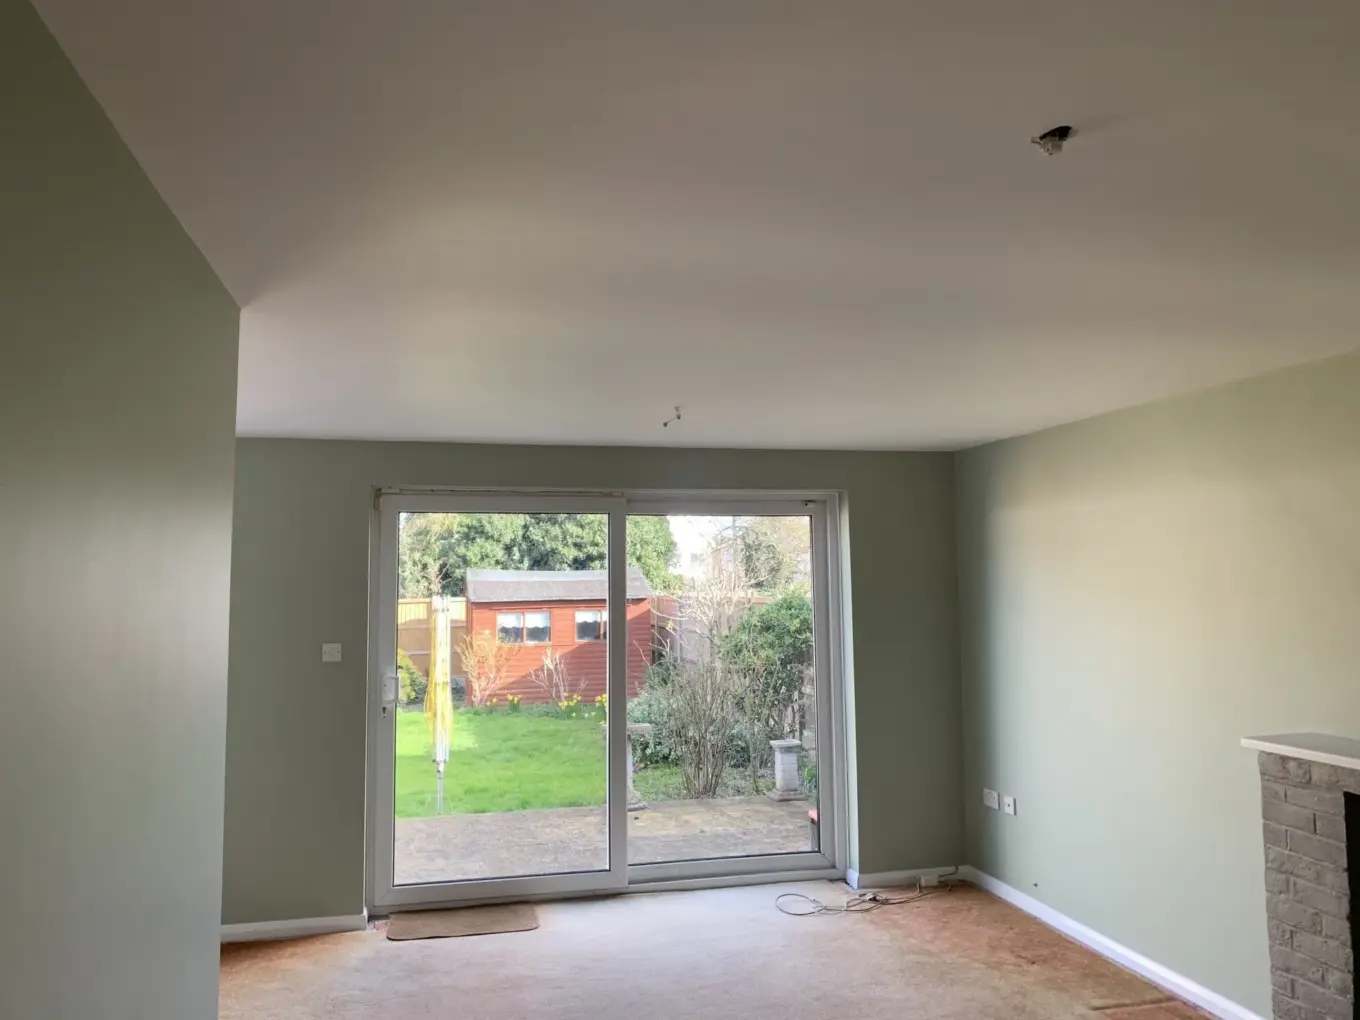
For this project, the client had informed me she was having new carpets laid after I had decorated. I had agreed with the client that I would cut the carpet around the edges and remove the off cuts of carpet from around the edges in the lounge and dining areas. This way it is very helpful because you can machine sand to the bottom of the skirting boards and completely decorate the complete skirtings. Not taping them up and only being able to paint to the carpet line. Clean dust sheets were laid to all carpet areas even though they are being changed. A plastering company the client had instructed to plaster the ceiling had been in prior to me starting so I didn’t have to release any lights from the ceiling. Also once I had completed my works the client was instructing a electrician to replace the old lights with some new fixings. I released the sockets and switches from the walls and taped them up to protect from any possible roller spray.
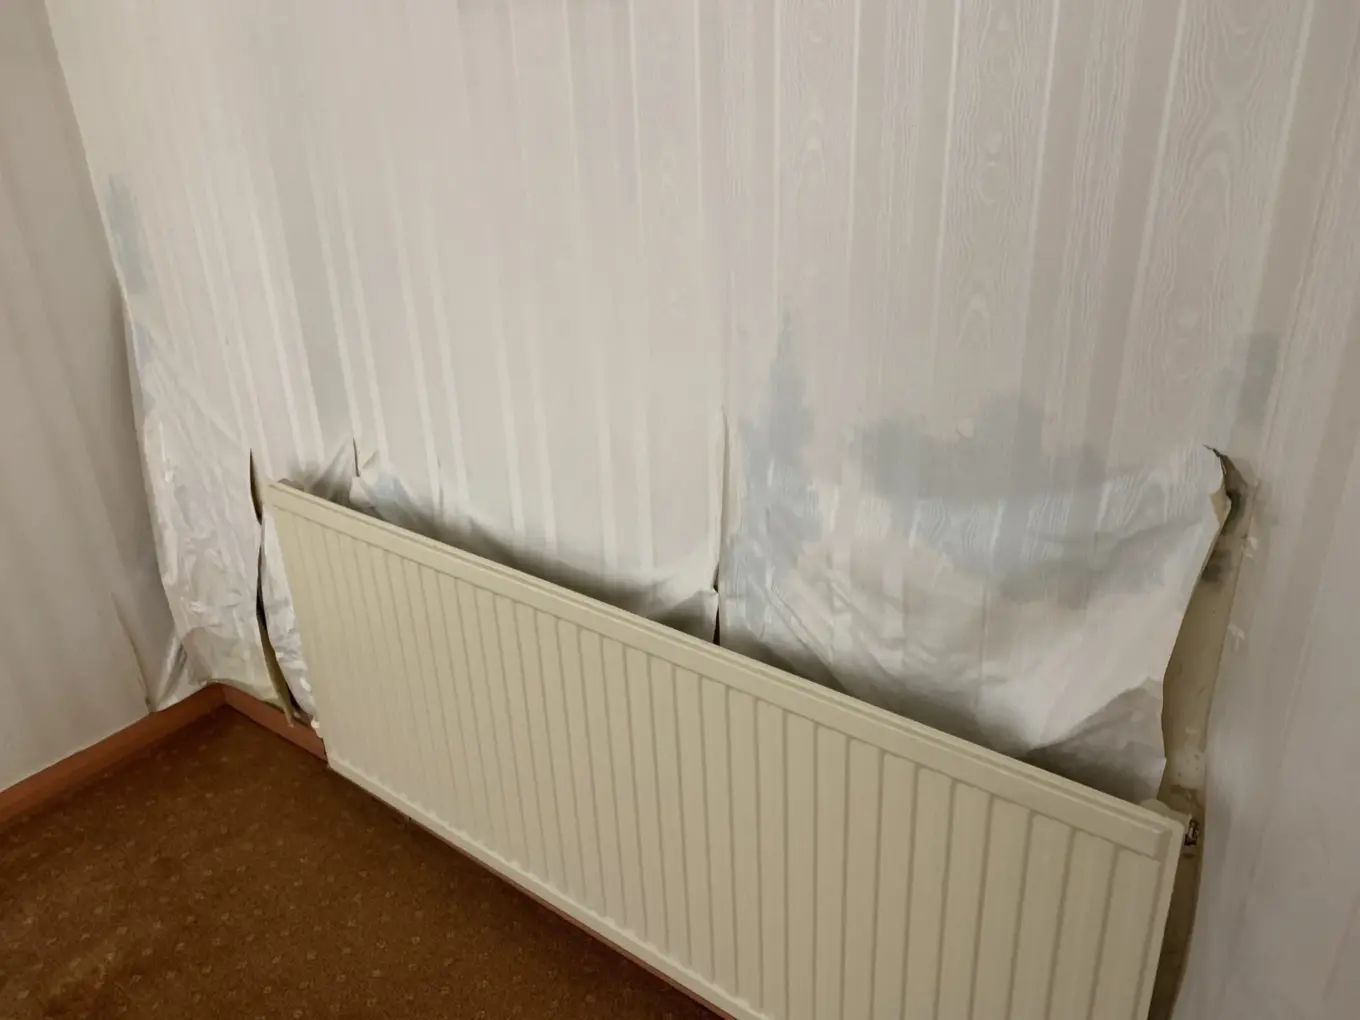
This project involved the removal of wallpaper, so I placed a piece of metre wide plastic sheeting around all the edges of the room and taped this to the skirting boards. This ensured that when I was soaping the walls with a pressure spray and stripping the wallpaper, all waste paper and any water would fall on the plastic sheeting which was picked up once all the stripping of wallpaper was complete, placed in a black sack and removed from the clients’ house.
The walls were all washed down using a two bucket system – one bucket of clean water with sugar soap to remove as much paste residue as possible from the walls and the second bucket with clean water to rinse the sugar soap off the walls. The walls were left to dry overnight.
Preparation
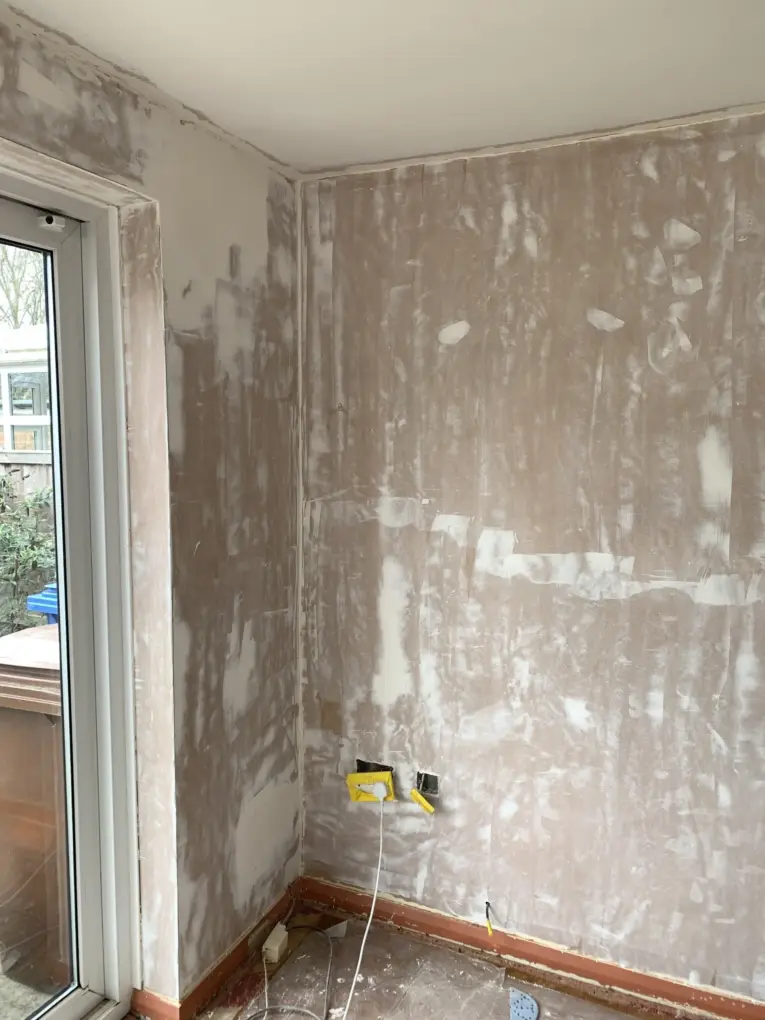
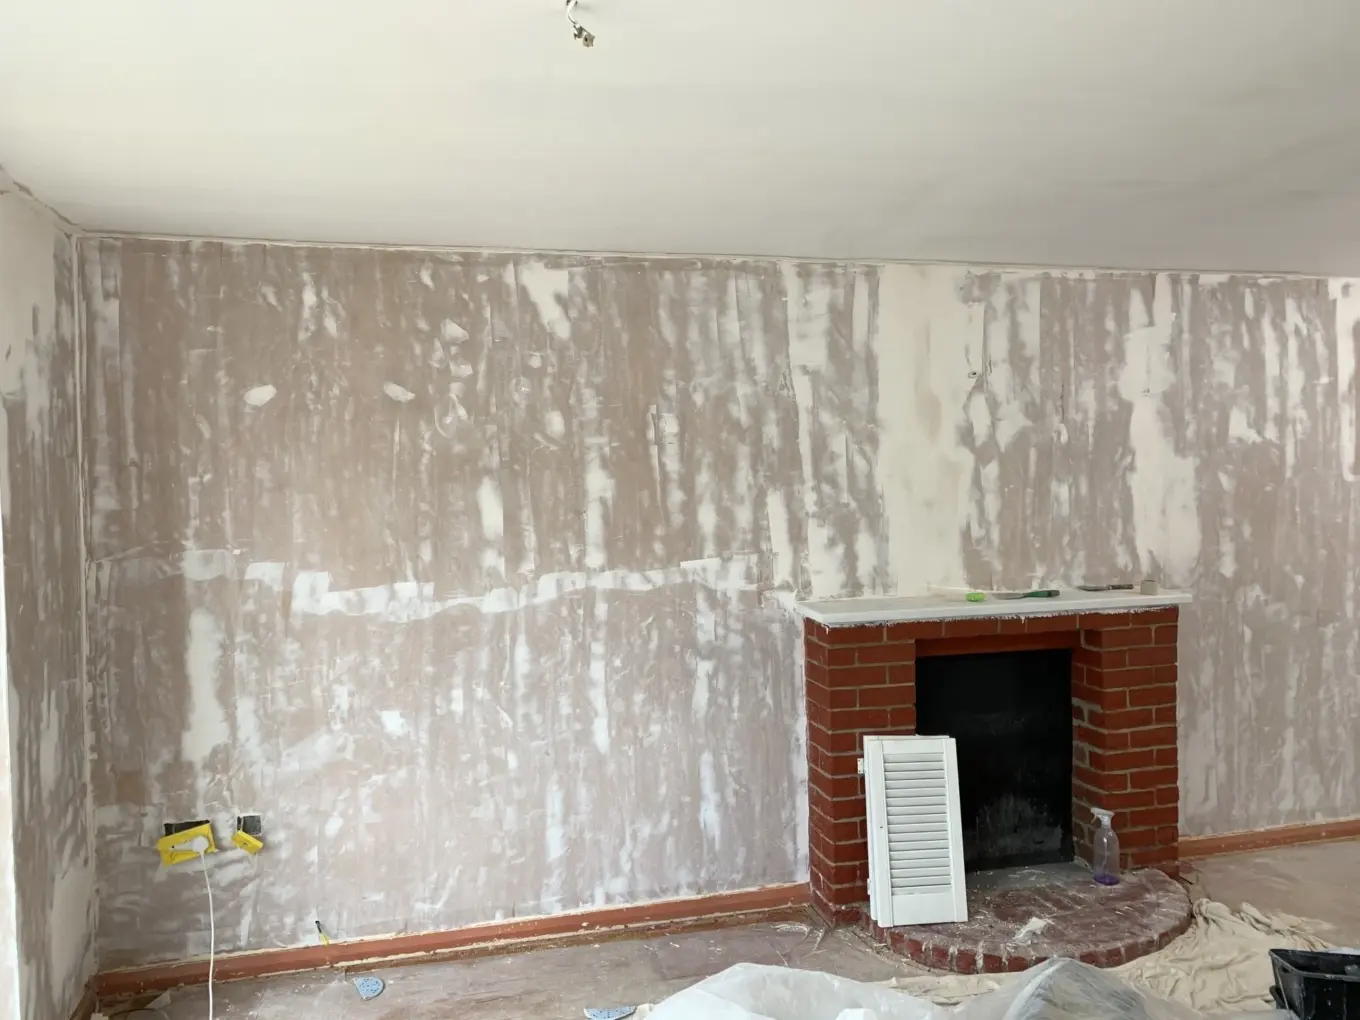
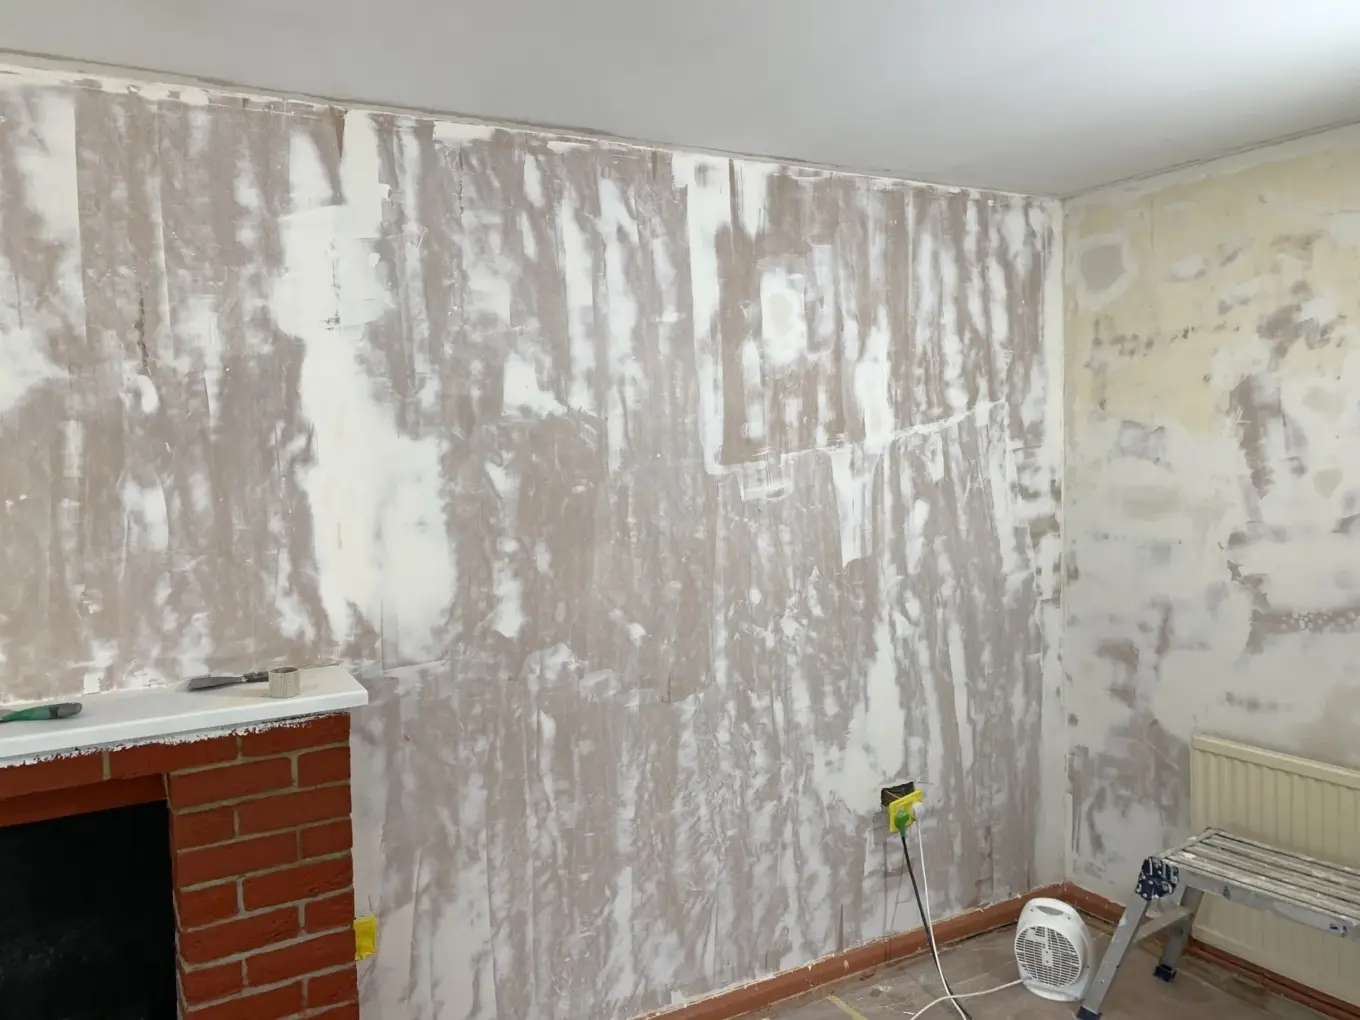
The freshly plastered ceiling was mist coated with a diluted coat of contact white first. I then rubbed down the ceiling and walls using Festools dust free sanding system which ensures there is virtually no dust created when rubbing down. This sanding process also ensures that any old paint runs, roller stipple, or rough patches on the walls are left as smooth as possible. Whilst rubbing down I used a pencil to circle any areas which needed filling.
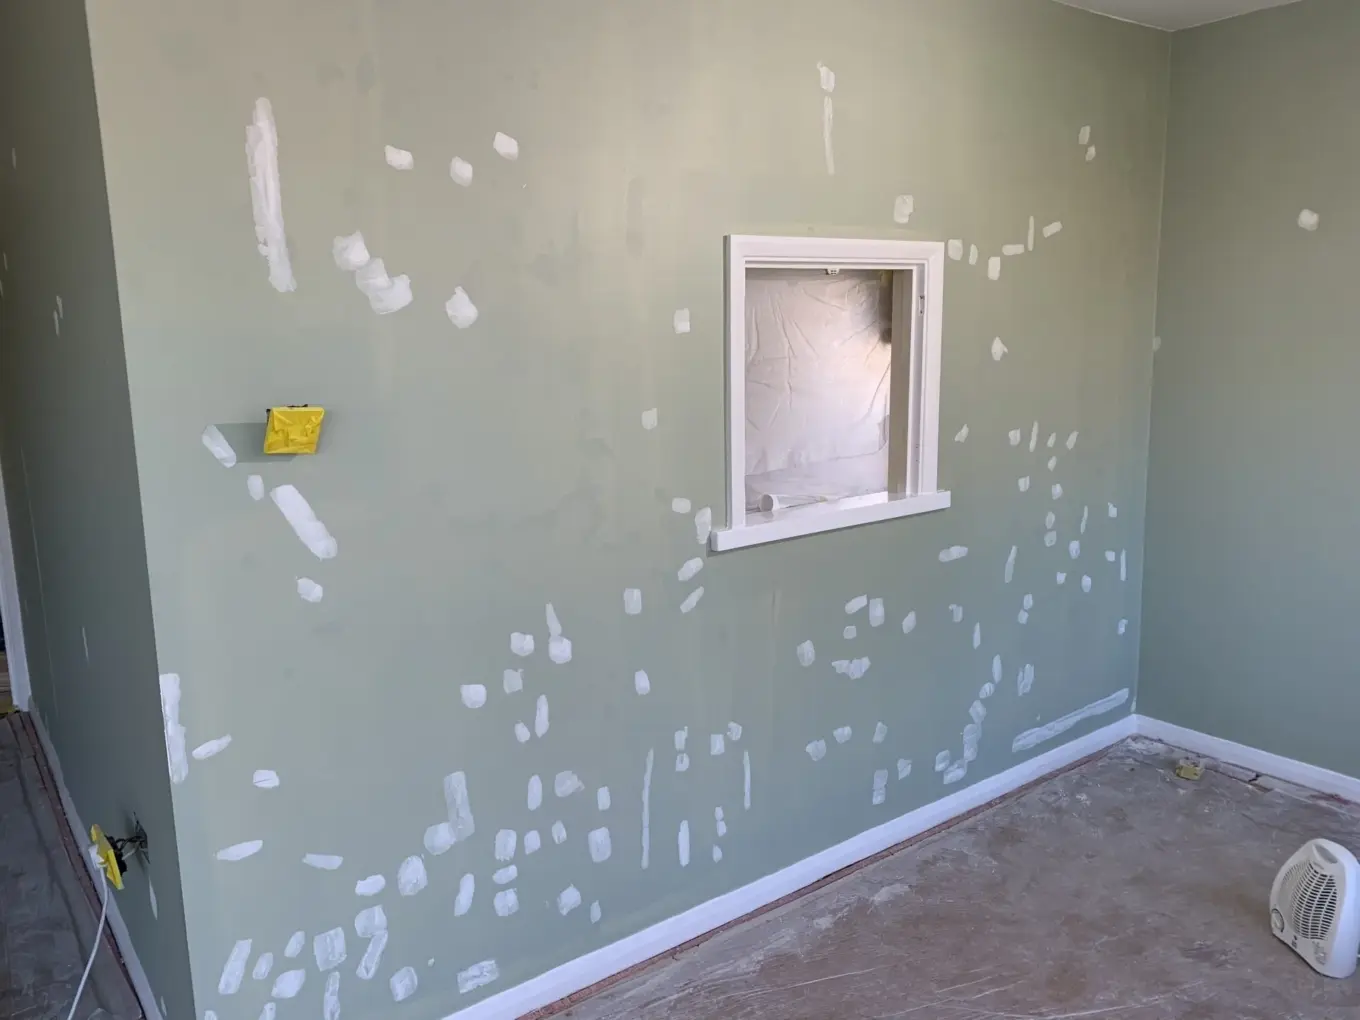
Once the ceiling and walls had been rubbed down I then started to prepare the woodwork. Woodwork is more involved as there are many different profiles on doors, skirtings and archives, including the door stops and the closing door jambs. I filled any defective areas on the ceiling and walls using either Toupret Tx110 or easy fill 45. Any areas on woodwork were filled using a two-part wood filler. I then rub down all areas using the Festool dustless sanding system. Once all areas were dry, I dusted down the ceiling and walls and wiped over using Wooster dust duster which ensures all dust was removed from these areas. The woodwork was dusted down and wiped over with fresh tach clothes.
Next, painting
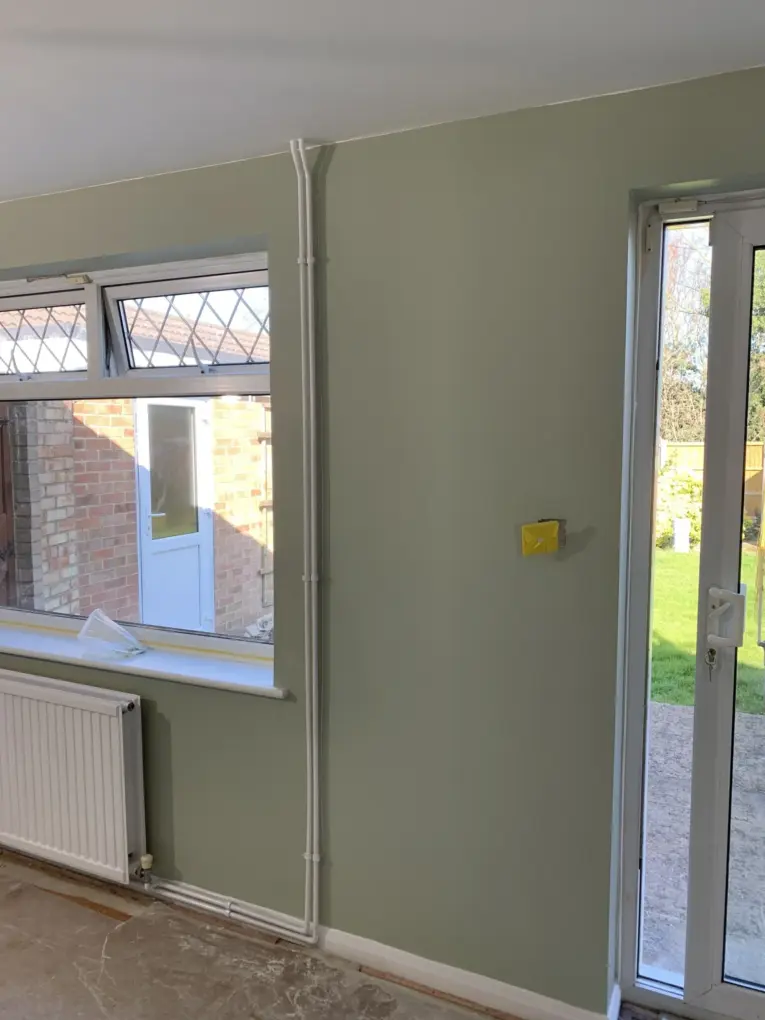
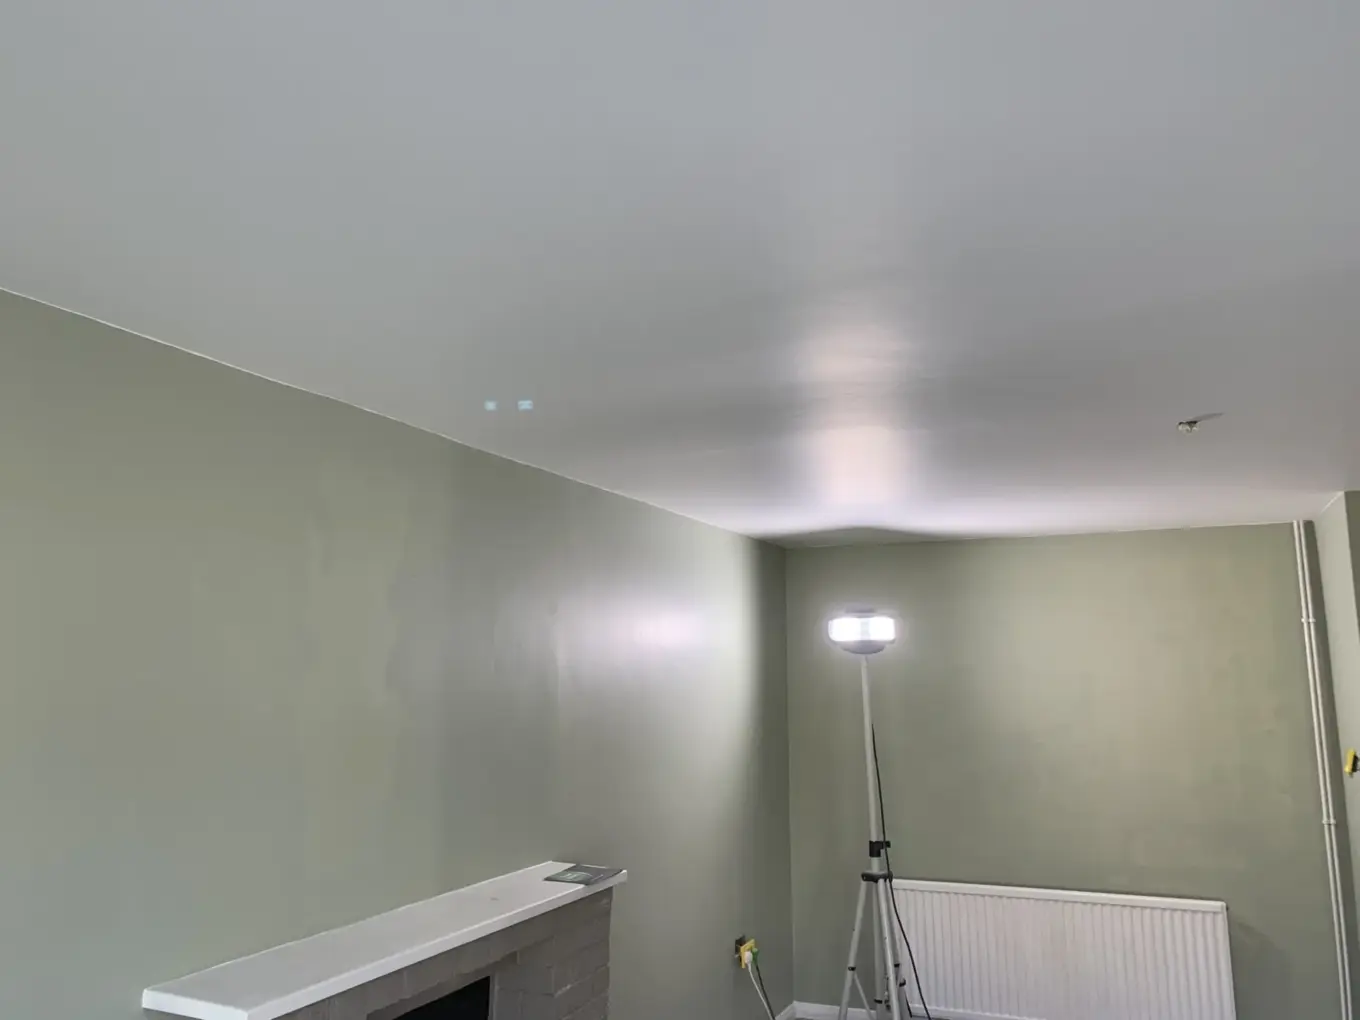
I then painted the ceiling with three coats of Tikkurila anti reflex 2 white emulsion. After the first coat had been applied I checked to see if there was any further filling to be carried out on the ceiling. The walls were sealed with two coats of Zinsser GARDZ which helps seals all walls repairs and stops the possibility of any old paste that is in the plaster liveing up the emulsion on the walls. Once dry, the first coat of emulsion was applied to the walls and left to dry and then checked over to see if further filling was required, before a further coat of emulsion was applied.
I ensured any new woodwork or woodwork which had been taken back to bare wood is firstly knotted. This is carried out using Zinsser Bin primer which is a shellac primer idea for knots. The rest is primed with a suitable primer.
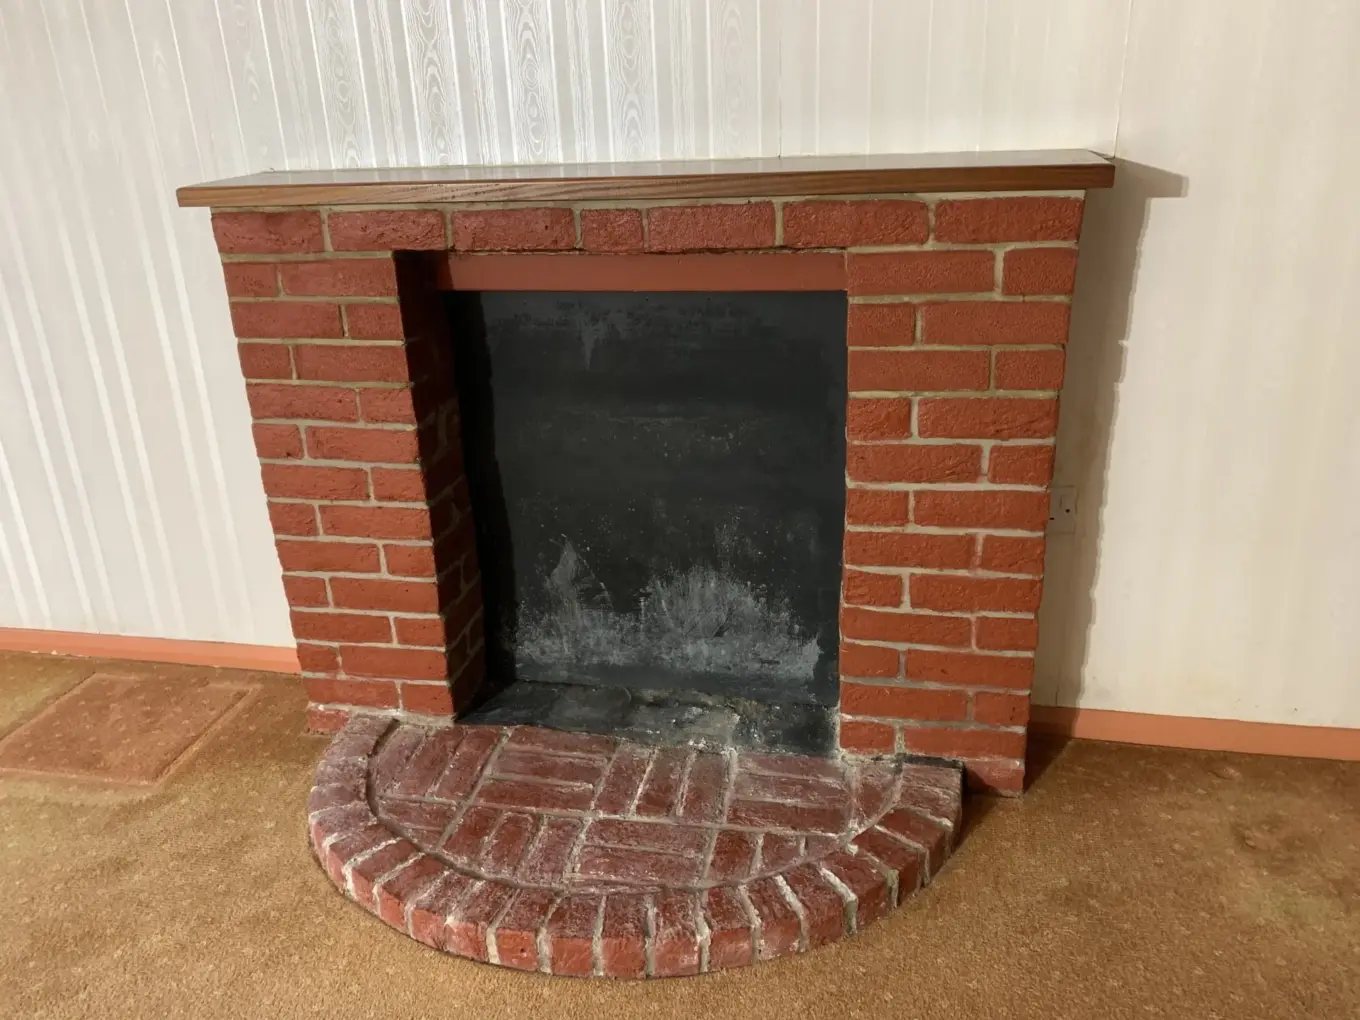
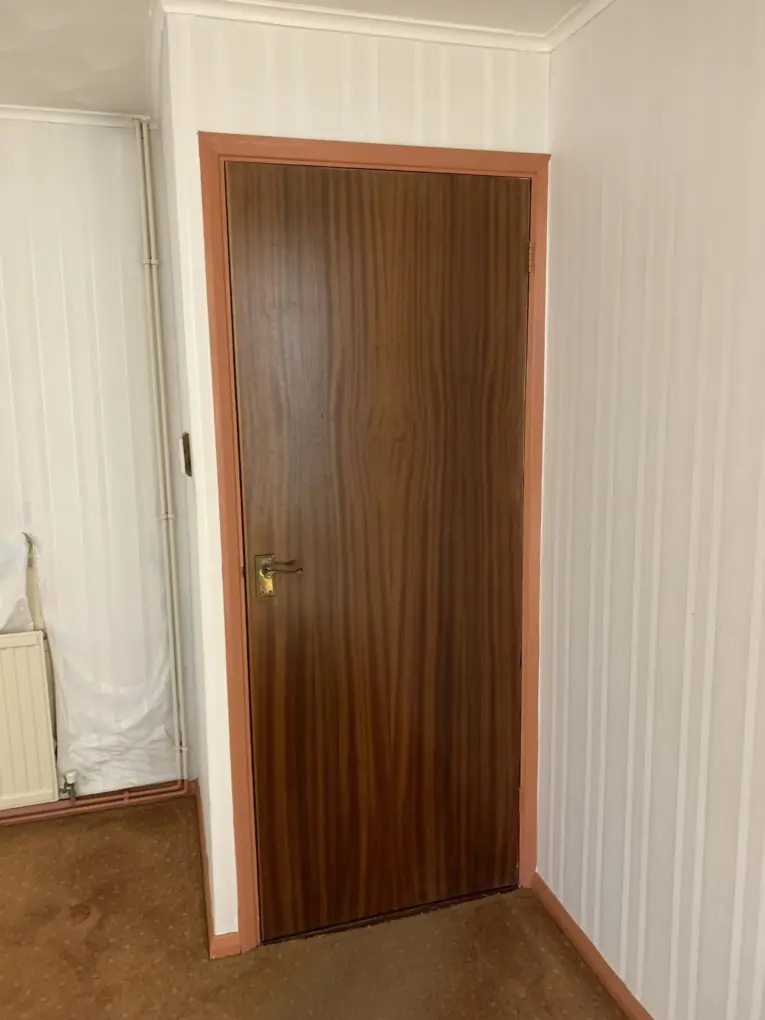
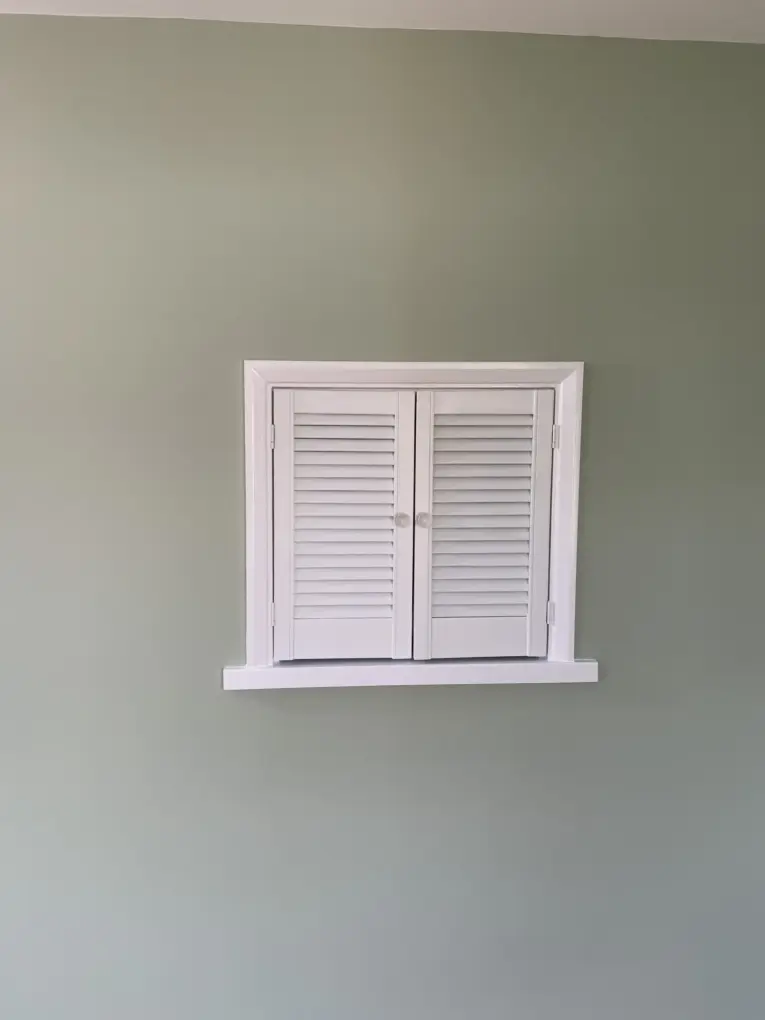
The fire surround top, door and dining room window sill were all primed using Zinsser Bin primer idea for stopping timber from bleeding through the water-based material.
I checked all woodwork again to see if any further filling was required and applied accordingly. All areas were rubbed down once the filler was dry, dusted off, wiped over with a tach cloth and undercoated. I undertook further rubbing down with fine sandpaper to all woodwork and wiped this over with a tach cloth before applying the two finishing coats of satinwood.
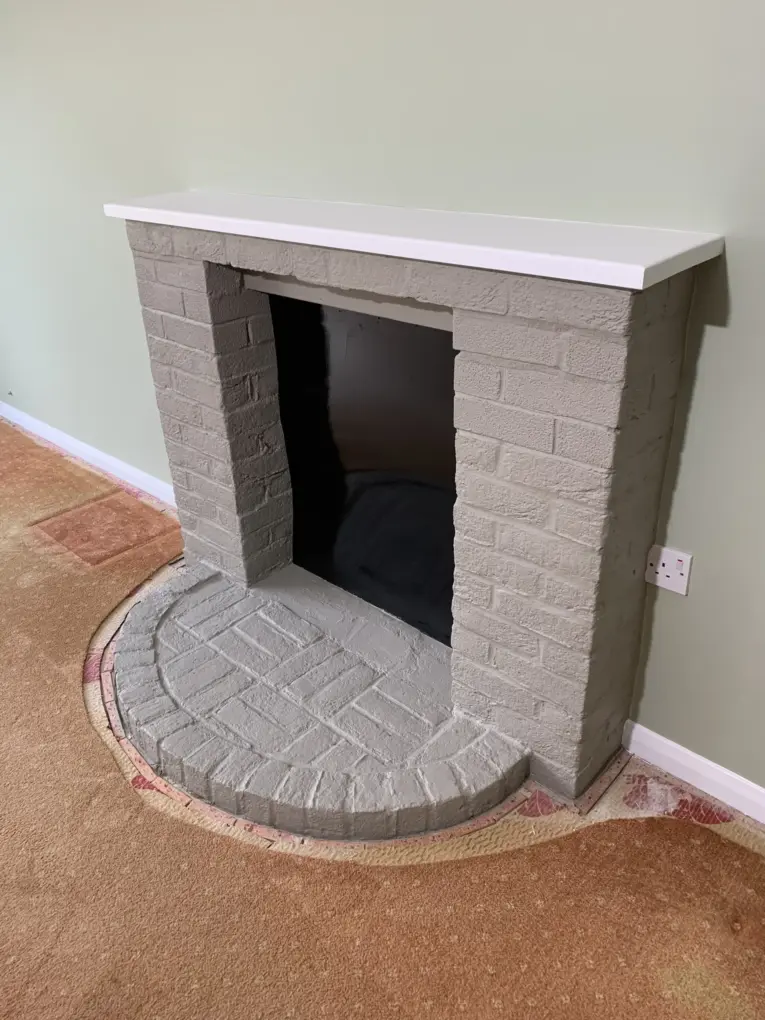
The brickwork around the fire place was washed down left to dry. It was sealed using a stabilizer solution. It was then decorated in a masonry paint from Dulux that the customer hand chosen from the tester pots and brush out boards I had left with the customer.
All light, sockets and switches were put back on, the carpets were hoovered and all dust sheets was removed and the floors. I finally removed all rubbish from the clients’ house.
Please contact me if you’d like a quotation regarding any painting and decorating in Sittingbourne, Rainham, Faversham, Isle of sheerness, Maidstone or local areas.